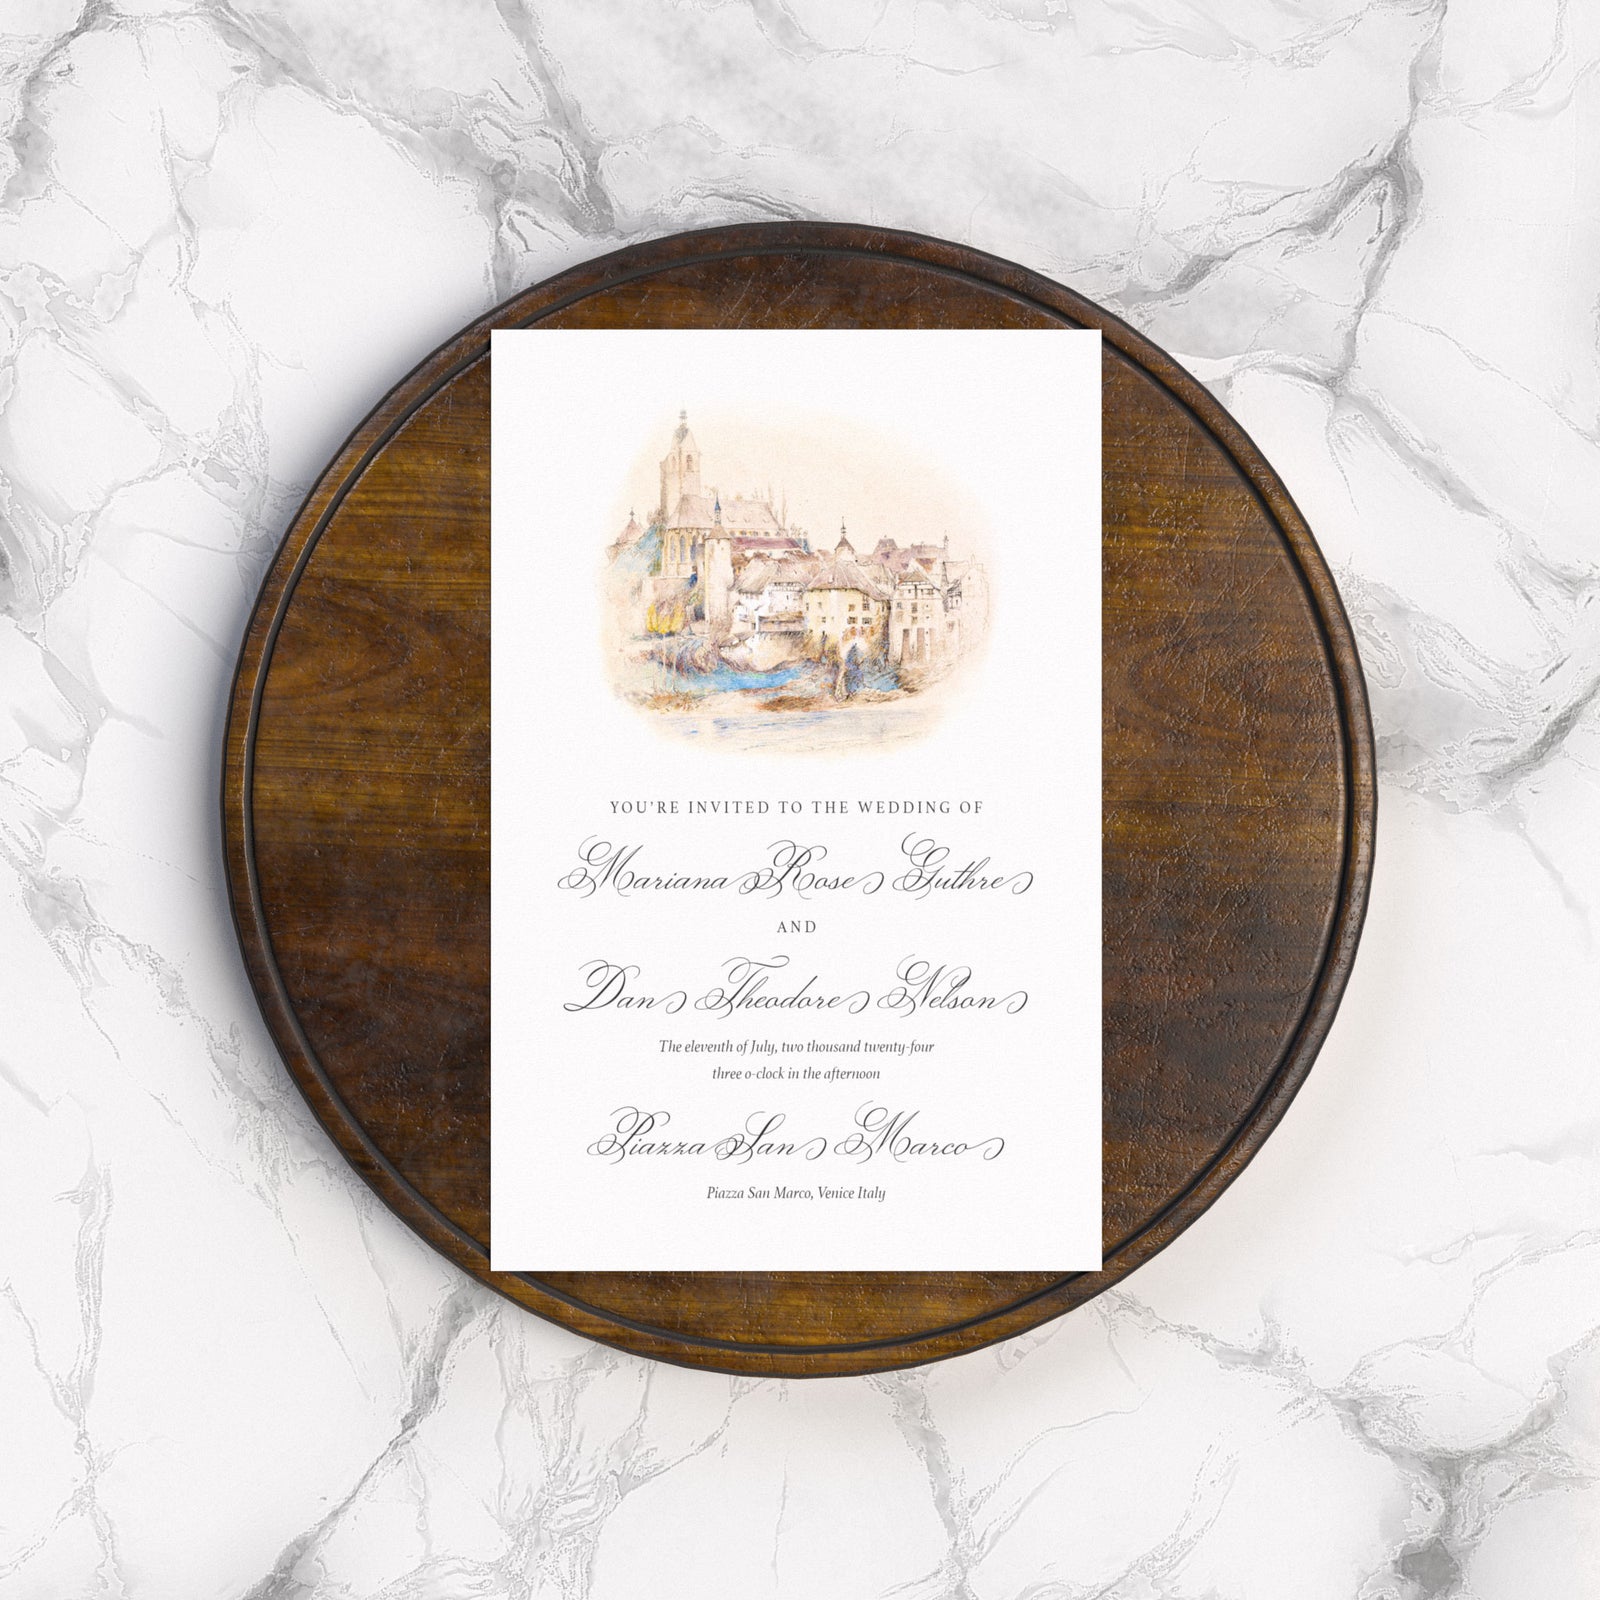


Specialty Printing File Setup
If you're getting a print product with specialty printing, you need to prepare your file correctly to ensure the best possible outcome. Here are some guidelines to help you prepare your print file for specialty printing.
Foil Printing
Step 1: File Format
Acceptable file formats include AI-Adobe Illustrator®, EPS-Encapsulated Postscript, and PDF-Portable Document File. Ensure the digital file size is less than 40 megabytes and always send a 100% image.
Step 2: Files
Vector format is preferred, and to avoid font issues, please outline all fonts.

Step 3: Line Thickness
The minimum preferred line width is .3 pt, please ensure that all line thicknesses in the design meet this standard.
Step 4: Color
Art that is to be foil stamped should be in a separate layer in 100% black or on a separate page of the PDF in 100% black.

Step 5: Save Your Files
Save your file in PDF format and upload it with your order before submitting. If you follow these steps, you can be sure that your foil design will come out just as you expect it.
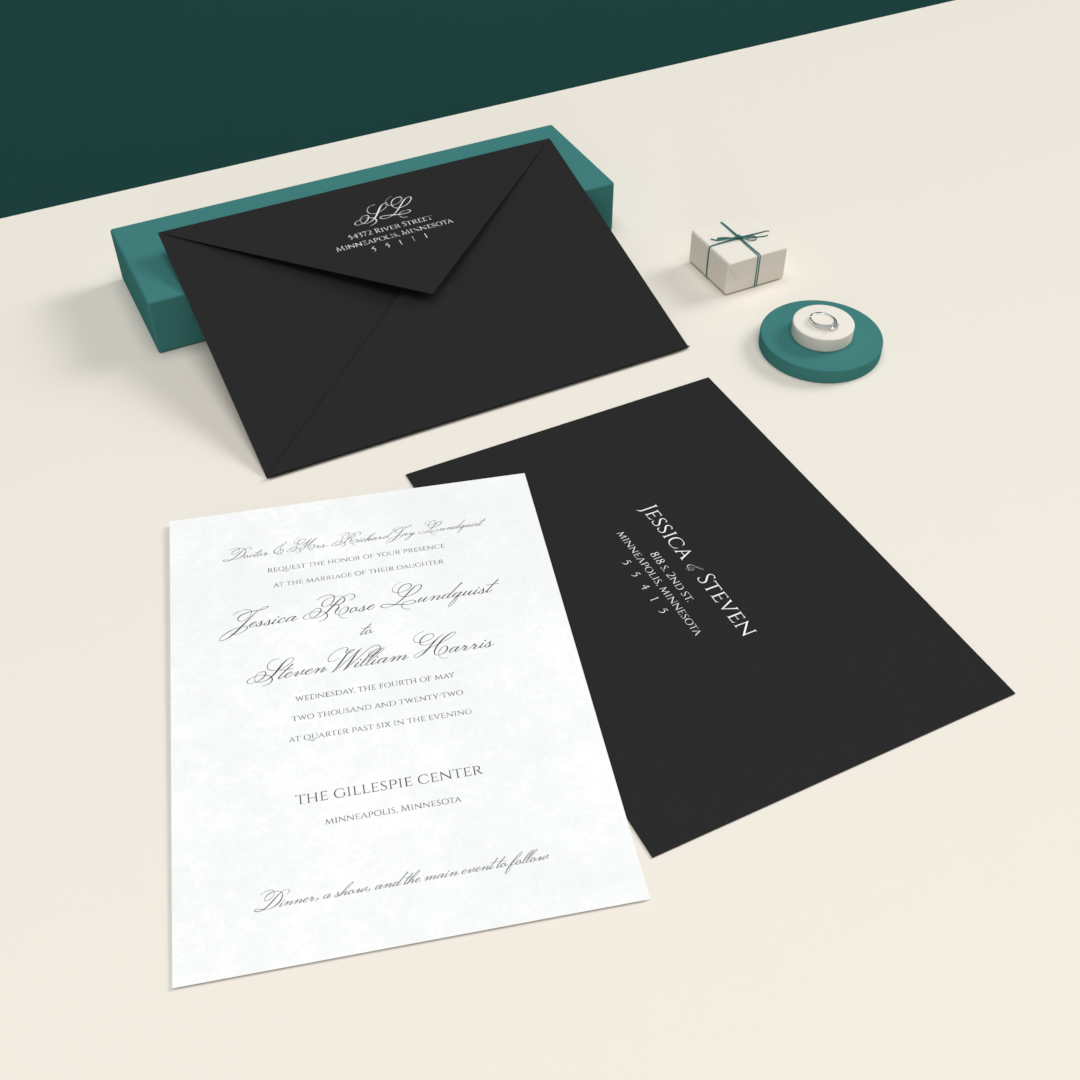
Letterpress Printing
When you're preparing a print design, it's crucial to ensure that your design is set up correctly. Here are some tips to help you get it right.
Step 1: Choose Pantone Colors Wisely
When selecting a Pantone color, remember that the color of the paper stock you're printing on can alter the appearance of colors. While we can't predict the effect of every Pantone color on every paper stock, keep this in mind when choosing your color.
Step 2: Pay Attention to Your Design File
Our recommendation for designing letterpress files is either Adobe InDesign or Illustrator. Make sure all fonts are outlined, any images are flattened and either in TIFF or vector format, and that all areas of the design are in 100% black. Avoid using other CMYK values, color modes, or spot colors anywhere on the design.
If you're creating a multi-color letterpress print, separate your designs into their respective colors as separate layers and name your layers as the Pantone color(s) being printed.
Example 1)
Printing: Letterpress Pantone Color
PMS Colors: 3 Color (2 PMS colors + 1 blind)
The letterpress in this example will be printed with the ink of Pantone color 165 on the first layer, PMS 429 on the second layer, and a blind (no ink) letterpress deboss will be applied to the third layer.

*Enter "Blind" in the 1st Pantone color option box for a blind deboss.

Example 2)
Printing: Letterpress Pantone Color
PMS Colors: 2
The letterpress in this example will be printed with the ink of PMS color 165, and PMS color 429.

Example 3)
Printing: Letterpress Pantone Color + Foil
PMS Colors: 1
The letterpress in this example will be printed with the ink of Pantone color 165. This file also contains a layer for foil, labeled "Foil" and the color is set to 100% K (black).

If you have further questions about your letterpress order, please reach out to us by phone or email.
Step 3: Consider Line Thickness and White Space
Ensure that all line thickness in your design is 0.4pt and over with the same amount of white space around lines and text. For dots, make sure punctuations, j's, and i's have a minimum thickness of 1pt. Avoid using hairlines or fine lines as they might not produce the desired outcome when printed.
Step 4: Avoid Applying Trim or Registration Marks
Please do not apply trim marks or registration marks, we'll take care of that for you.
Step 5: Save Your Files
Save your file in PDF format and upload it with your order before submitting. By following these steps, you can guarantee that your design will print as expected with crisp, bold letterpress.
White Ink Printing
If you're using Adobe to design your prints, it's essential to set up a white ink swatch for your design. This guide will provide step-by-step instructions on how to set up a spot color white ink swatch in Adobe, ensuring that your design will print correctly.
Please note that Adobe Illustrator and Adobe In Design are the most effective programs to use when setting up a white ink file due to their versatility in selecting complex swatches and color settings.
Step 1: Create a New Swatch
Select "Swatches" in your Adobe program and click "New Swatch". In the "New Swatch" window, name your new swatch "White Ink".
Step 2: Set Your Swatch Color Type
Change your swatch color type to Spot Color. Leaving it as a process swatch will cause issues when printing your design.

Step 3: Choose Your CMYK Values
You can choose any CMYK values for your white ink swatch. However, we recommend making it as obvious as possible to know what is being printed in White Ink. One common practice is using 100% magenta. Include a photo reference in your design for clarity if necessary.
Step 4: Save Your Swatch
Save your white ink swatch for later use.
Step 5: Apply Your Swatch
Select the portions of text or design that you want to print in white ink. Apply the new white ink spot color swatch to the design or text. Double-check if any outlined or filled portions of the design need that spot color swatch applied.
Step 6: Save Your Files
Save your file in PDF format and upload it with your order before submitting. By following these steps, you can guarantee that your design will print as expected with crisp, bright white ink.
Remember, accurate color representation is crucial in commercial printing, so it's essential to set up your design with white ink properly. With this guide, you can ensure your design will be clean and professional-looking when printed.
Offset PMS 1-3 Color Printing
Step 1: File Format
We accept AI-Adobe Illustrator®, EPS-Encapsulated Postscript, and PDF-Portable Document File formats.
Step 2: Files
To avoid font issues, we recommend that you outline all fonts. We prefer Vector format files.
Step 3: File Preparation
Please select "spot color" in your Swatch panel when preparing art that is to be printed in a specific PMS color.

By following these steps, you can ensure that your print design comes out just the way you imagined it. If you have any questions or require further clarification on these requirements, please do not hesitate to contact us.